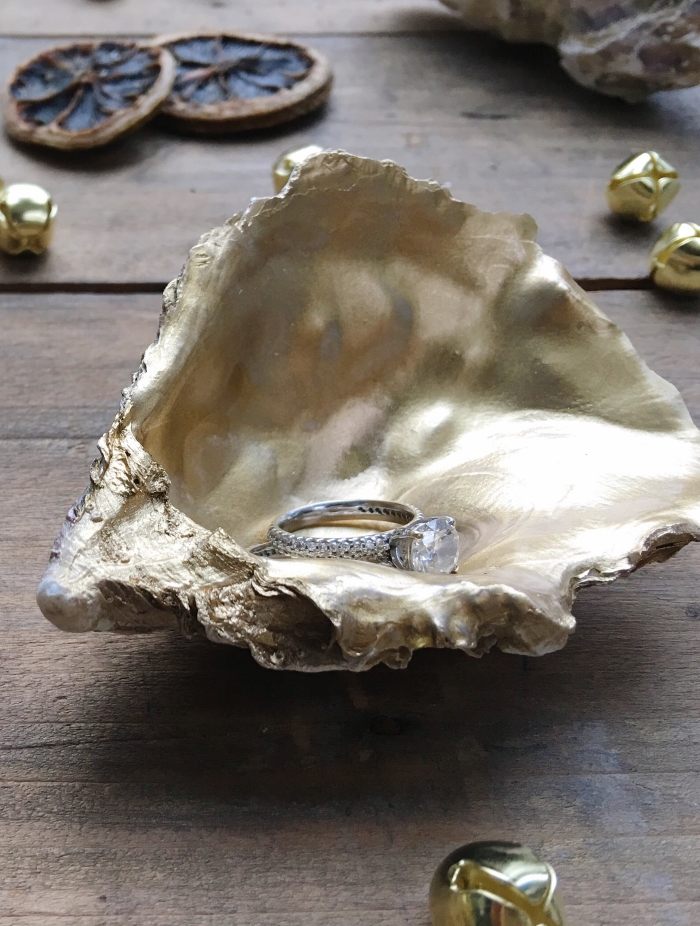
DIY: OYSTER SHELL TRINKET DISH

The hubs and I celebrated our 6th “going out” anniversary (does anyone else do that after they’re married?!) with a lovely meal at The Salt Room in Brighton a few weeks ago. Little did he know, I strategically chose the restaurant partly because reviews were fantastic, but partly because I knew oysters were on the menu… I was a little embarrassed asking the waitress if I could keep the shells, but she happily obliged (apparently it’s a much more frequent request than you might think!) and returned a few minutes later with washed shells wrapped up in foil, ready for me to turn them into these beautiful trinket dishes!
Now I’d seen similar DIY oyster shell trinket dishes before so I can’t take any credit for coming up with the idea, but I thought I’d share with you my take on them.
To make these trinkets, you’ll need:
- Oyster shells (or other seashells)
- Gold spray paint
- Clear sealant spray
Step 1: Clean the oyster shells to make sure there are no bits of flesh left. I actually soaked them in diluted bleach for a couple of hours to make sure there’s nothing nasty left. It did bleach the colour of the shells a little but I actually really like the effect!
Step 2: Protect the area you’re working on. Spray the inside of the shells with a thin coat of gold spray and let dry. If you’ve sprayed on too much and the paint is pooling at the bottom, you can twirl the shells around to help spread the paint and then leave it upside down over some napkins to dry. Repeat according to the recoating instructions on the spray can.
Step 3: Once your 2 coats of paint are dry, spray a thin coat of clear protective sealant on top to help make them more scratch resistant. Let dry.
Whether you use them to present jewellery to your loved ones or gift them as presents in their own right, they’ll add an instant sparkle to someone’s dressing table, or in my case, right next to the kitchen sink so I don’t lose my rings when I take them off whilst cooking!