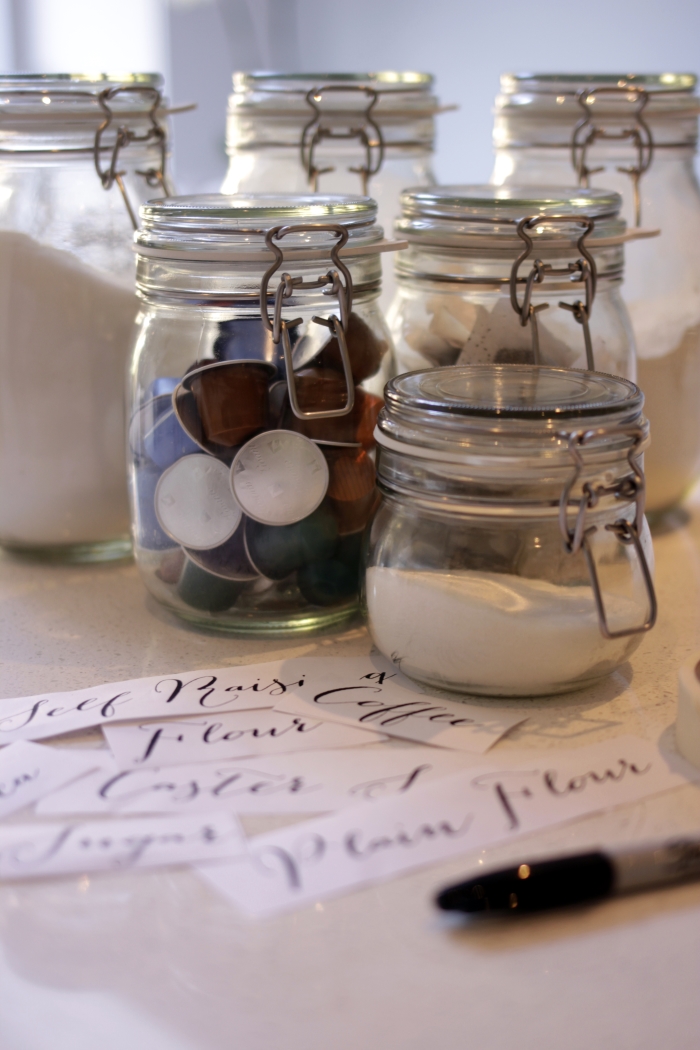
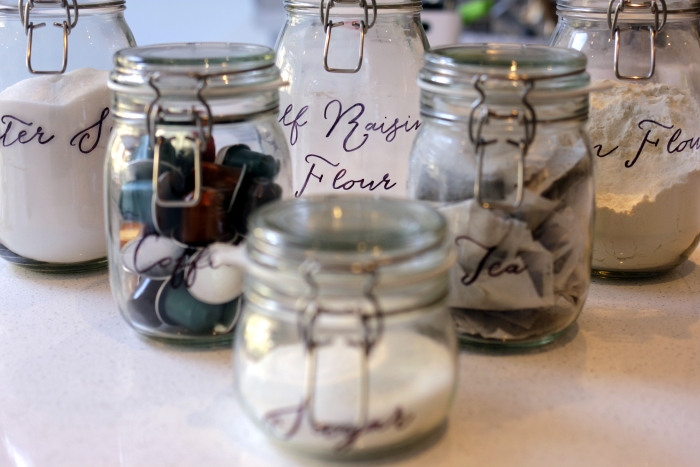
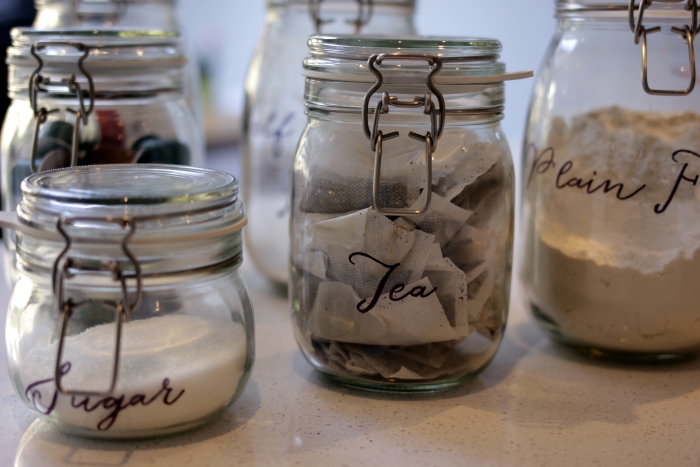
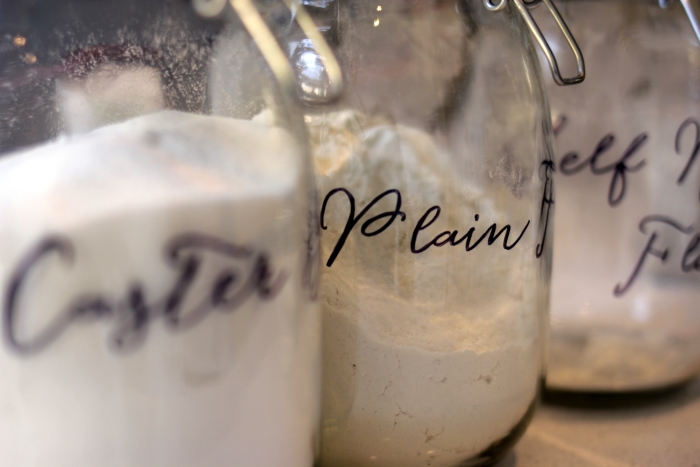
DIY: SHARPIE GLASS JAR TYPOGRAPHY
Happy Saturday!
I’ve been meaning to do this for a little while, so with the hubs nursing a hangover in bed, I took the chance to do this super quick and simple DIY today!
It’s very similar to the calligraphy glass seating plan I did for our UK wedding last year.
I’m jazzing up my tea, coffee and baking supplies jars here, but the idea would work equally well for wine glasses, mini vase placecards for weddings and parties, etc!
Materials:
- Glass jars
- Sharpie
- Print outs of words in chosen font (or you could go free hand!)
- Tape

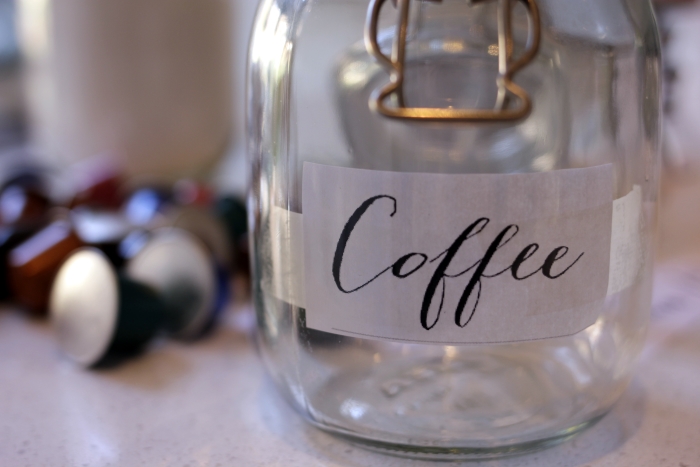
Step 1: Tape your print out onto the inside of the jar. Make sure the outside of the jar is clean and grease free! You can use a little rubbing alcohol if needed.
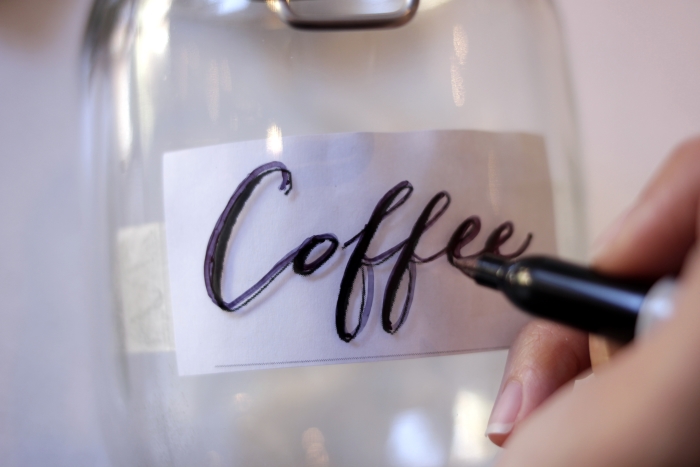
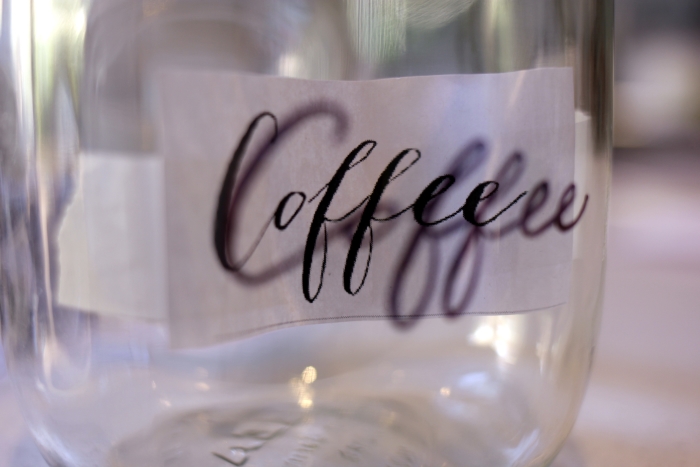
Step 2: Trace over the word with your Sharpie. You may need to go over it a few times to get the colour/thickness you want.
Et voilà!
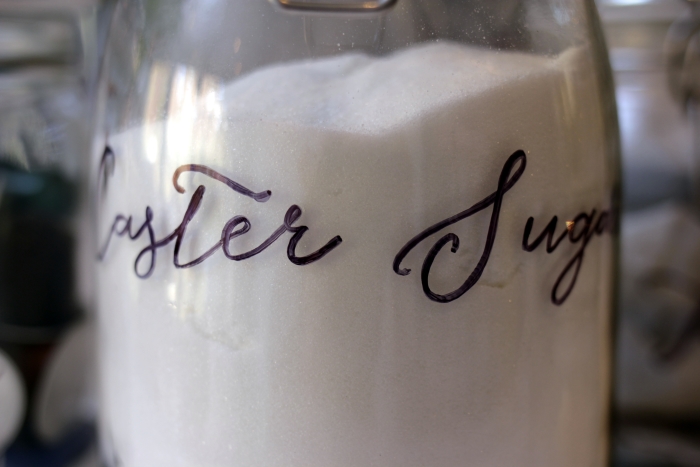
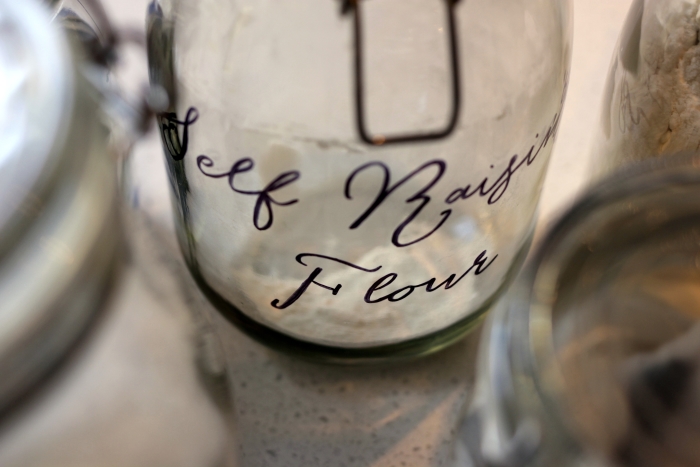
Some people say it’s best to use the oil based Sharpie or a glass paint pen, and some people suggest baking the glass in the oven to make the marking permanent. I just used a standard Sharpie coz that’s what I have, and I didn’t bake the jars coz I’m not sure if they are oven safe. I guess they won’t be too water resistant, but I’ll just need to remember to be a little careful with them. Worst case scenario, I guess I’ll just have to trace over them from time to time!