DIY: SOPHISTICATED EASTER EGGS
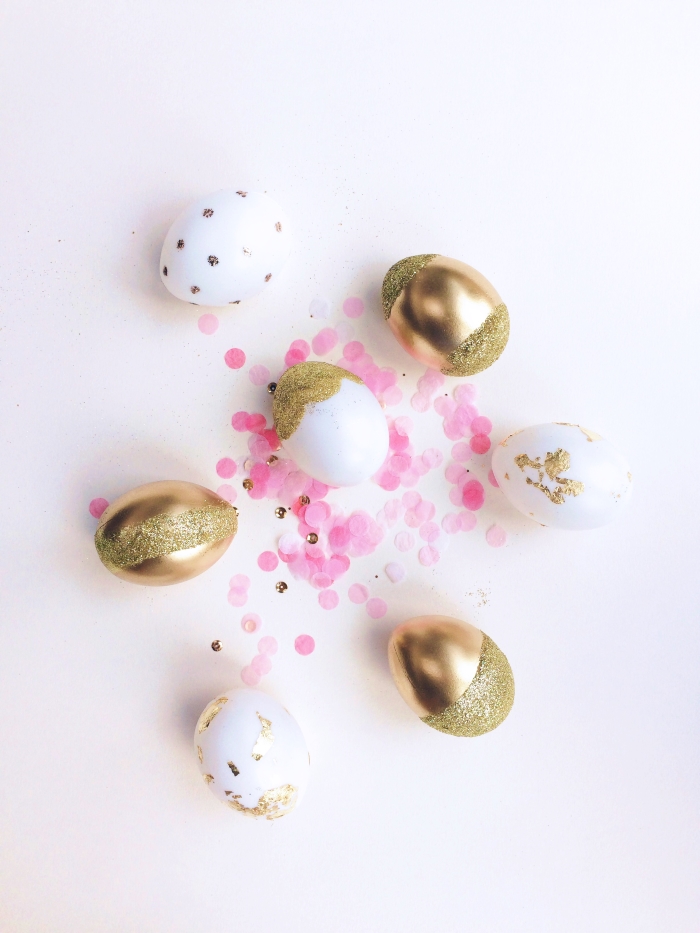
Spring has sprung and Easter is just around the corner, so it seems appropriate that I share with you not one, not two, but THREE different ways to decorate Easter eggs! I know, I know… you’ve probably seen a million Easter egg DIY tutorials by now BUT I promise you won’t be disappointed by my glamorous, sophisticated, elegant, grown-up take on the humble little egg! ;)
Materials:
Essential:
Eggs, obviously! I’ve gone for plastic craft eggs but you can use real ones - blown out or hard boiled.
Optional, depending on which design(s) you go for:
Gold spray Gold glitter Gold leaf sheet (real or imitation) Gold glitter nail polish Mod podge or craft glue Small sponge or painting brush Small plastic cup
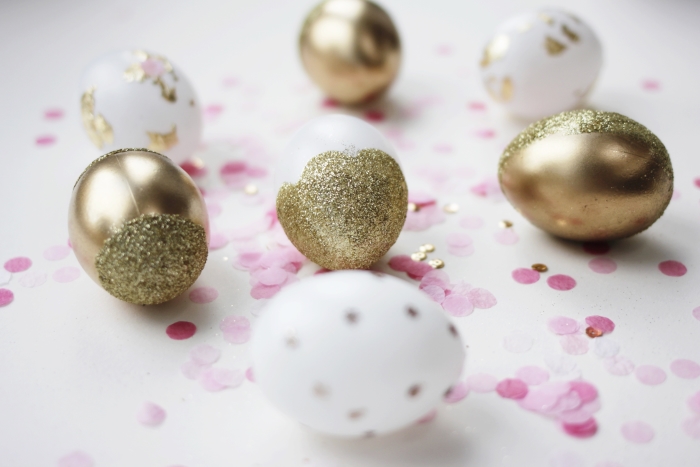
The glamourous one
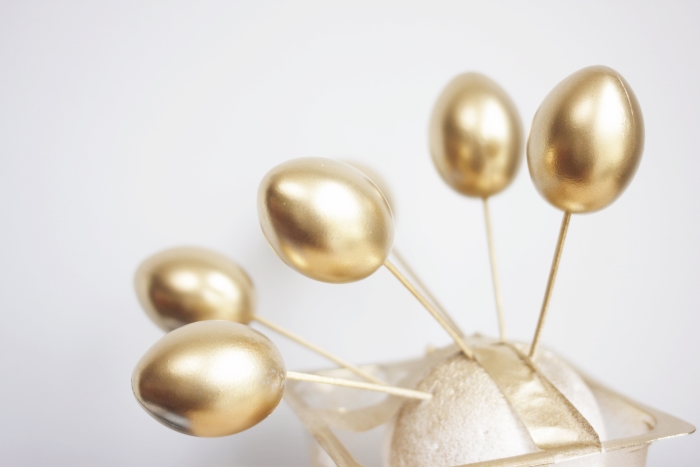
Spray some of the eggs gold and leave them to dry. Since my craft eggs have a hole at the bottom, the easiest way was to put the eggs on skewers and stick them in floral oasis or styrofoam (leftover packaging is perfect for this), but you can spray them however you like!
 Jimmy called this a “space monster” - clearly, that’s what it is…
 And this is what I call “the life of a gold spray DIY addict” but there’s nothing a little nail polish remover can’t fix… until you see my not so pretty nail with bits of leftover spray paint in the next photo… :S
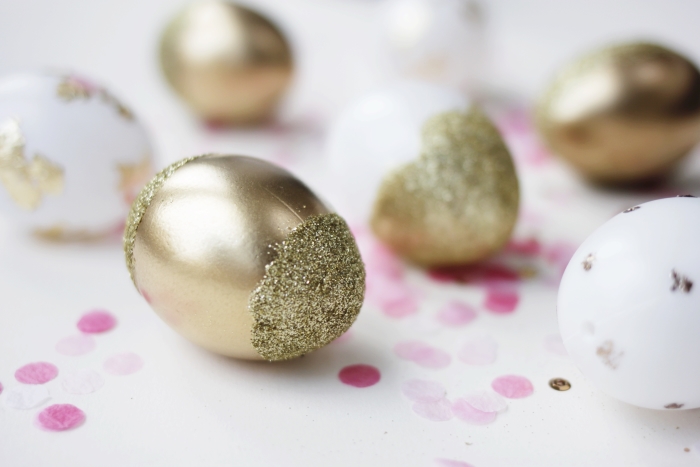
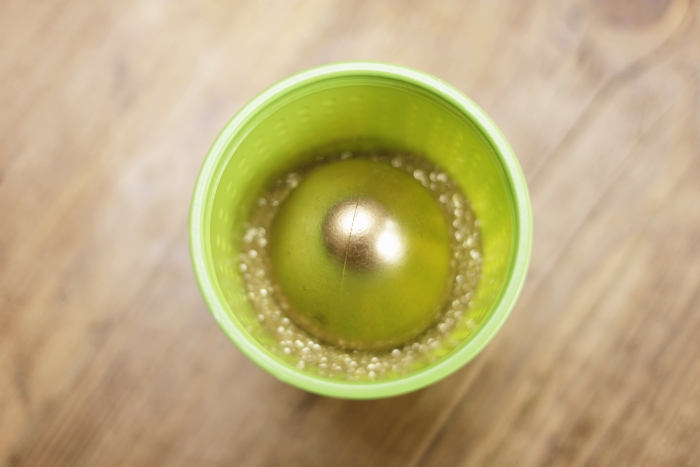
Using a small brush, coat part(s) of your egg with a thin layer of glue. Wait for a minute or two (or keep blowing at them if you’re impatient like me) so the glue becomes tacky, and dip the glued part in a cup of glitter. Apply a little bit of pressure so the glitter sticks firmly to the egg.
Let the glue dry and gently tap on the egg to remove excess glitter.
Play around with the designs! Try out stripes or different heights or angles of where you want the glitter to go.

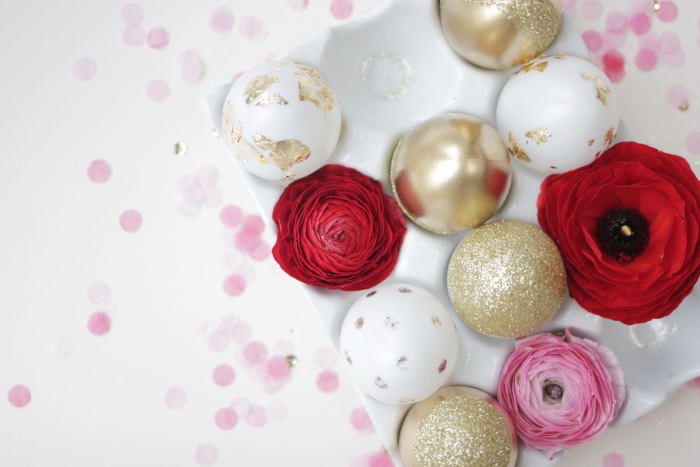
The sophisticated one
I found this one to be a bit fiddly but that’s probably because I used normal Mod Podge rather than a stronger adhesive or special gold leaf glue, but hey, it worked! I’m all about making what I’ve already got work rather than buying a whole load of stuff! ;)
I was clearly too focused on getting them done that I totally forgot to take some steps photos… sorry!!!
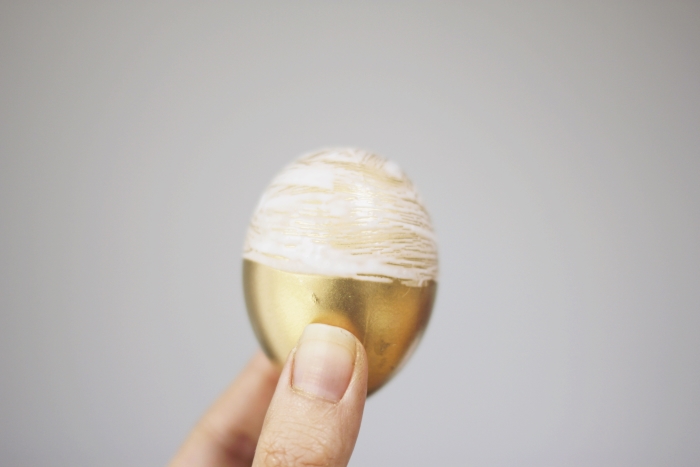
Anyway, again coat part(s) of your egg in glue and wait until it becomes tacky. I went for random brush strokes here and there but you can coat the whole egg if you wish!
I found two ways to do the next bit - (1) put the gold leaf sheet onto the glued parts, apply pressure with your finger so it sticks to the egg, then gently pull the sheet away, or (2) tear up small irregular bits of gold leaf and stick directly onto the glued parts.
It does get a bit messy but surely that’s all part of the fun!
The elegant one
If you don’t have any gold spray, glitter or gold leaf, hopefully you’ll have some glitter nail polish at home! I went for a polka dot effect but you can easily do stripes or other patterns.
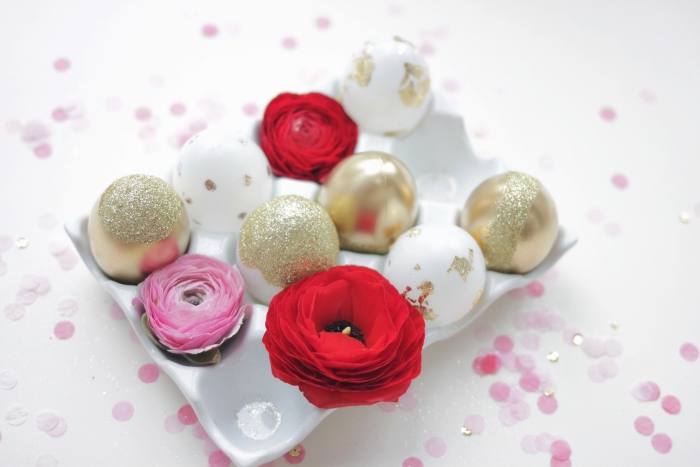
And that’s it - my sophiscated Easter eggs 3 ways! If you decide to give these a go, I’d love to see how they turn out! Do tag me - @lingyeungb - on Instagram or Twitter, or you can share them on my Facebook page!
I hope you all have a lovely Easter break! x