DIY: FRAMED FABRIC WALL ART
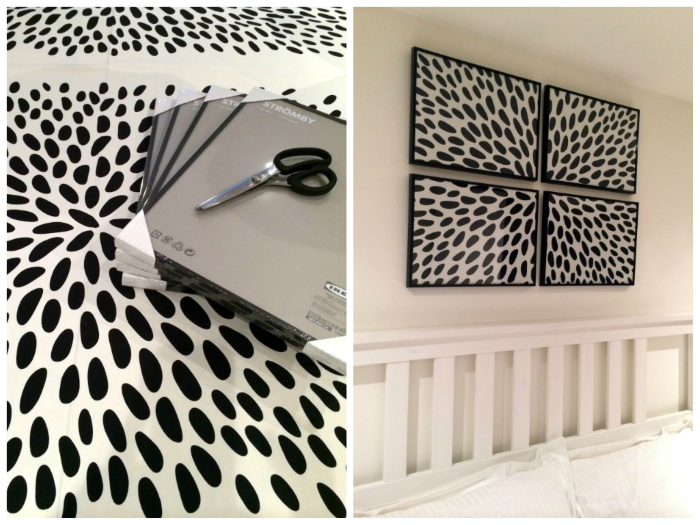
Do you remember I was going to buy this <a href=”http://www.ikea.com/gb/en/catalog/products/50238815/ target=”_blank”>TR├àDKL├ûVER fabric</a> when I was planning my Ikea pilgrimage a little while ago?
I bought it, couldn’t decide what to do with it, but then I had a lightbulb moment! I could frame it as wall art for the loft bedroom as the decor is a bit dull (argh, I cannot wait to re-build the loft!)!
Materials:
- Picture frames (whatever size and number take your fancy)
- Fabric
- Pinking shears or normal scissors
Step 1: Iron the fabric to remove any crease.
Step 2: Map out which sections you want to frame by placing the frames (with insert and backing removed so you can see through) over the fabric. I wanted mine to be centred around the middle of the “burst” pattern.
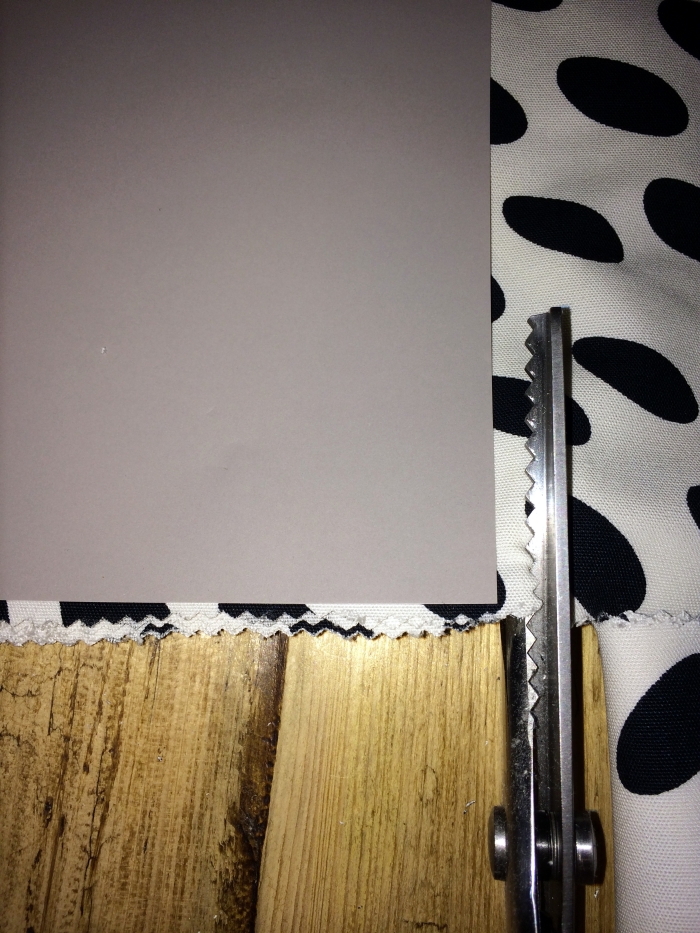
Step 3: Cut the fabric to fit the frames. Make sure each piece is slightly bigger than the frame insert size so you don’t see the edges through the glass.
Step 4: The rest is pretty self explanatory! ;)
I wish there was more for me to say… but that’s it! Voila!

p.s. I haven’t quite got it all figured out yet but follow my blog with Bloglovin!