DIY: DRIED HYDRANGEA WREATH
The party season is almost upon us - there’re officially only 6 weeks left until Christmas!
6 weeks may seem like a long time, but I’m sure it’s going to fly by, especially since we have a 2 week holiday in between.
Those who know me will know that I’m super organised and like to plan ahead. We won’t be hosting Christmas at home this year, but that’s no excuse to not do things properly!
So I’ve been thinking… maybe I’ll share with you what I’m gonna do to get Christmas-ready over the next few weeks, and I’ll kick it off with a little DIY that doesn’t scream CHRISTMAS in your face to slowly get you in the mood.
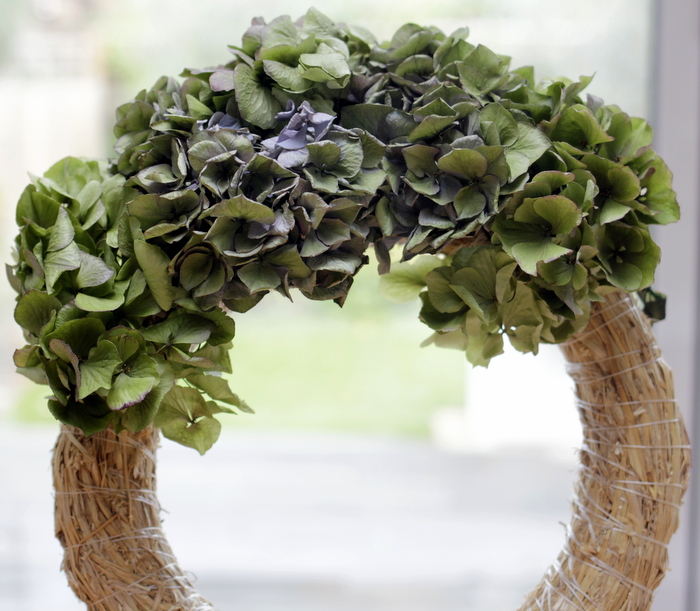
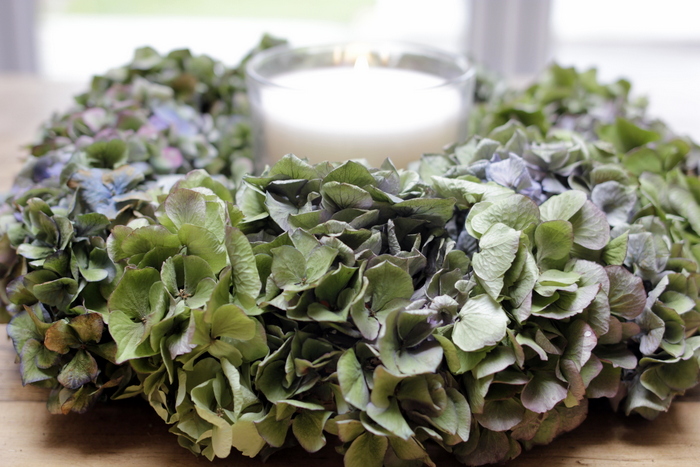
Come meet my dried hydrangea wreath!

Materials:
- Straw or foam wreath form
- A bunch of dried hydrangeas
- Floristry pins, wire or large paper clips
- Scissors
- Hairspray (optional)
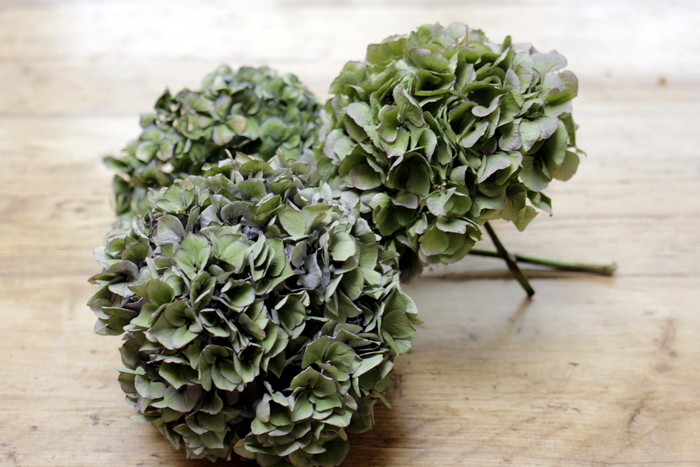
Just to give you an idea on size and quantity, I used a 12 inch straw wreath and 4 stems of dried hydrangeas (they were really large blooms though!), and the finished wreath has a 16 inch diameter.
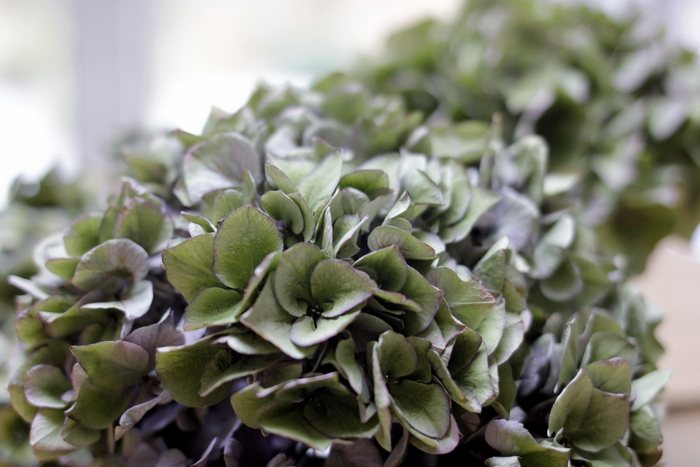
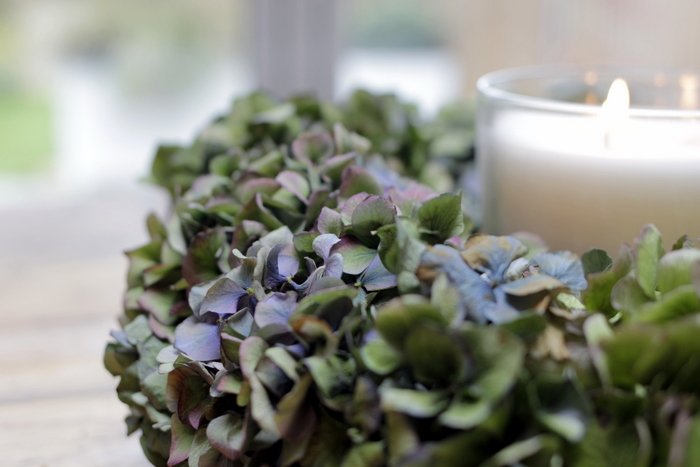
I sprayed my dried hydrangeas with a thin mist of hair spray. This step is totally optional, but it does help hold any loose bits together. And for tips on how to dry hydrangeas perfectly, see my Bloomin’ Lovely post here!
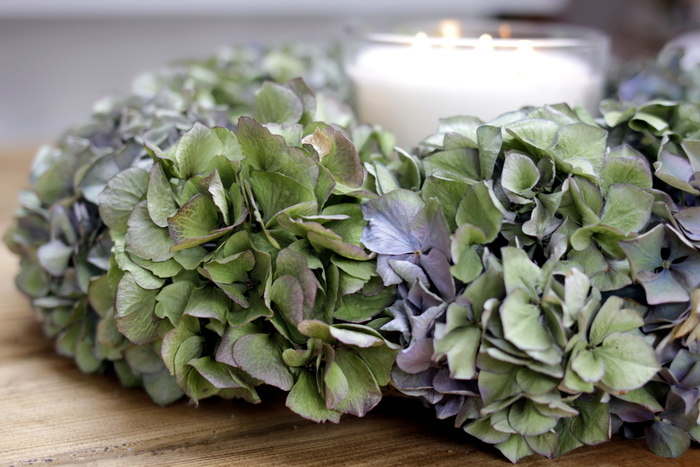
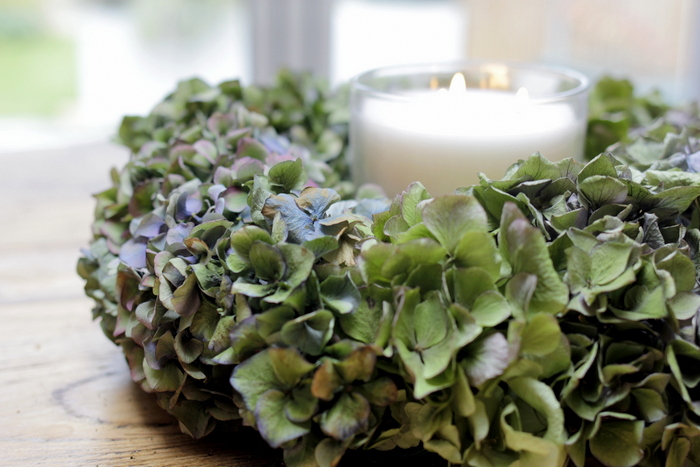
I am using mine as a table wreath, but if you want to hang yours, now is a good time to tie a piece of wire, ribbon or twine onto the wreath to make a loop for hanging.
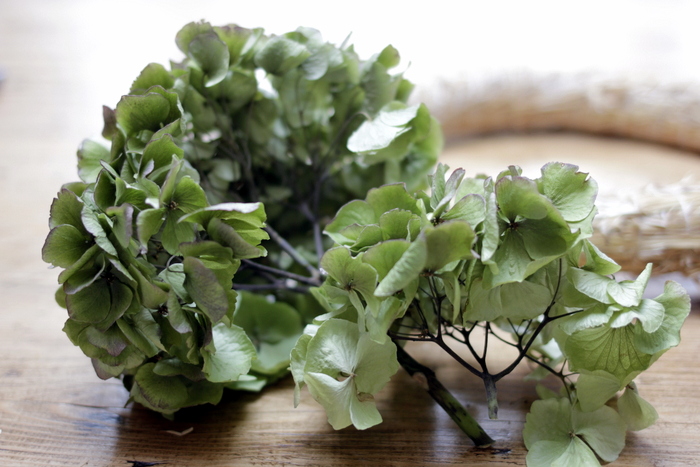
Since I had such large blooms, I cut them into smaller florets. I don’t know what the scientific terms are… but umm… imagine if hydrangeas are lungs, then I’m cutting at the bronchi rather than the smaller bronchioles?
Slight geek moment… but you know what I mean, right?
They do grow like a tangled mess though, so you’ll need to tease them apart gently.
Once you have all your florets, place them on top of the wreath just to get a feel for a) whether you have enough, and b) how you want to lay them out. I find it easiest to start with bigger pieces so you get the overall shape of the wreath, and then fill in any gaps with smaller pieces.
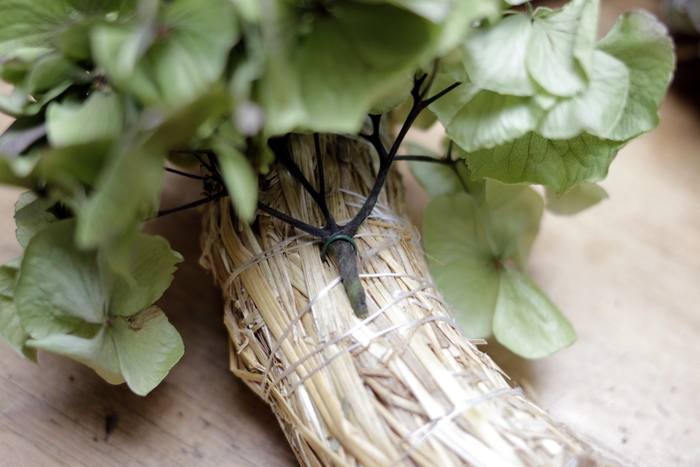
Place a floret on the wreath and secure with floristry pins. I should have taken more photos, but it’s actually better to place the pin above or across a node, rather than below.
I didn’t have any floristry pins at home - of course I couldn’t wait and go buy some, I wanted to make it NOW (!!!) - so I improvised with some old bits of floristry wire I had from last year’s Christmas wreath.
I cut the wires into 2 inch strips and bent them into a skinny U shape. I reckon you can also cut out the loopy inner section (that’s another scientific term for you! ;)) of large paper clips to turn them into pins!
And that’s pretty much it! Just keep pinning hydrangeas onto the wreath until you’re happy that there are no more gaps!

I already had a straw wreath (you can easily get one for a couple of quid) so the only cost was £10 for the hydrangeas that I bought from Columbia Road Flower Market, plus an hour’s effort.
Of course I’m biased but I think it looks just as good as this £55 version…?!
What do you think? x